
Carousels are one of the most popular ways to view a bunch of related images on mobile. At the time of this writing, they’re even more famous because Instagram carousels are quite popular. Since we consume most content on mobile in portrait view, the horizontal carousels are quite popular.
In this post, we’ll learn to create a horizontal carousel in a React Native application. We’ll use the easy-to-use react-native-snap-carousel package. This is a very popular React Native package that we can use to add a carousel feature in our React Native app. You can learn more about this package at its GitHub page.
To implement this, readers should have basic knowledge of JavaScript, React, and React Native. We’ll also be using the awesome no-code testing tool from Waldo to test our application.

Basic Setup
To start, we’ll be using Expo CLI to create a new React Native app. We’re using Expo since it is both easy to use and also recommended for beginners. First, we need to install Expo CLI, if it isn’t already installed, from the terminal. We’ll install it globally using the command below:
We’ll create a new React Native project after Expo is installed. Go to any directory and use the below command to create a new project. Give the project any name. I’m calling mine react-native-carousel.
Expo will ask us to choose a template. We’ll choose the blank template. We just need to press enter, as the blank template is the first option.

We’ll get the below screen if everything is installed successfully:

Starting Our React Native Project
We’ll now start our React Native project by first navigating to the directory and running the npm start command.

The npm start command will launch Metro Bundler in http://localhost:19002/ in your default browser. Expo gives us a number of options to run our application. We can run our app in Android Emulator, for which we need Android Studio set up. Or, for an iOS emulator, we need Xcode installed on our Mac computer.
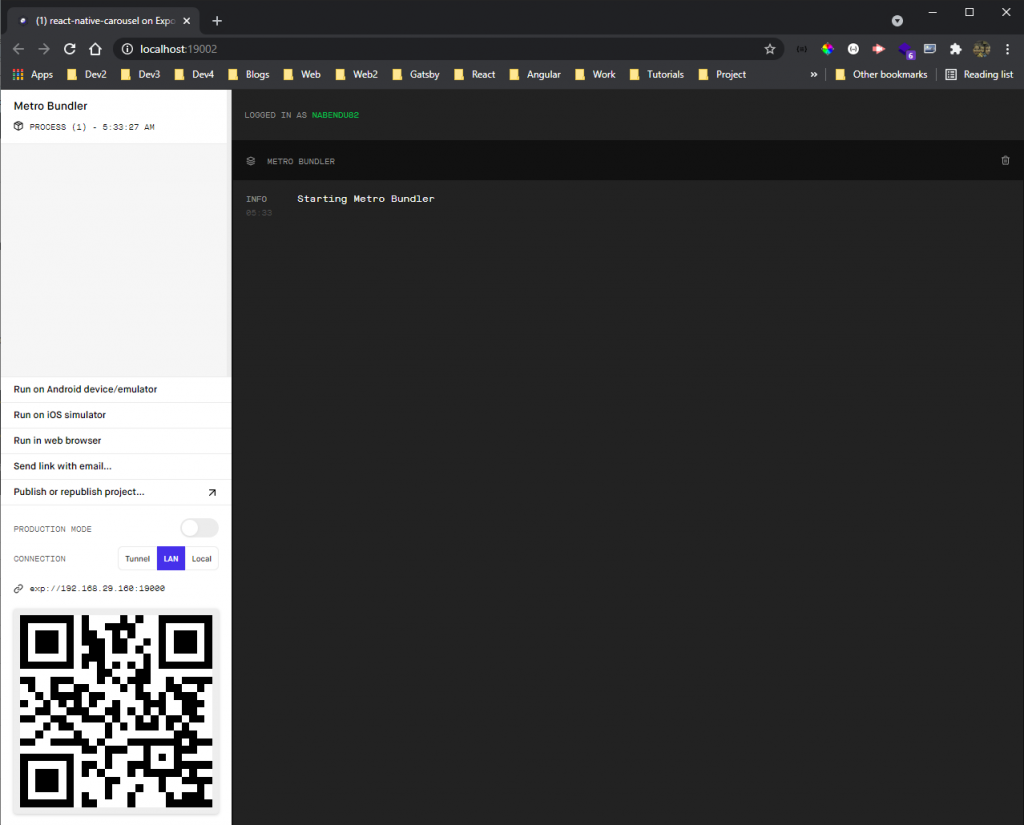
I personally don’t use an emulator to run my React Native application. Running an emulator is a very resource-intensive task and requires a high-end system. The other way is to run the app on a physical device, which is both faster and gives the exact look of the app.
We need to scan the QR code in http://localhost:19002/ through a mobile application called Expo Go. It’s available in both the App Store and Google Play store.
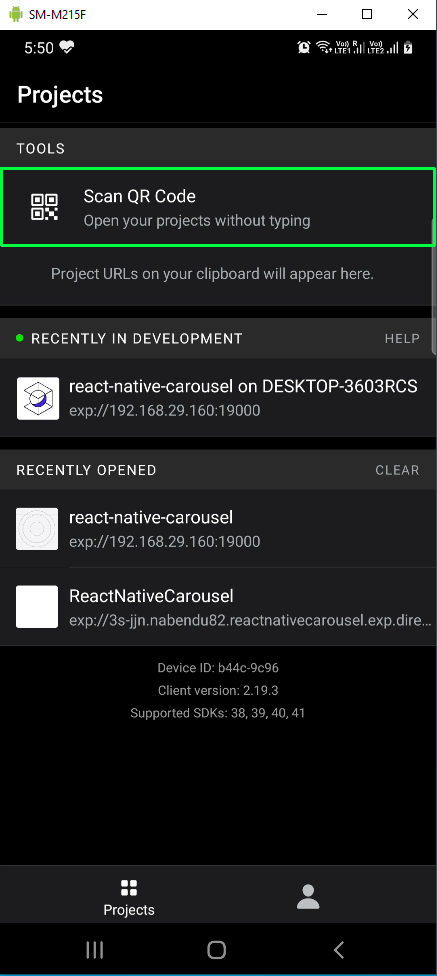
Once you open the Expo Go app on your mobile device, click on the Scan QR Code tool.
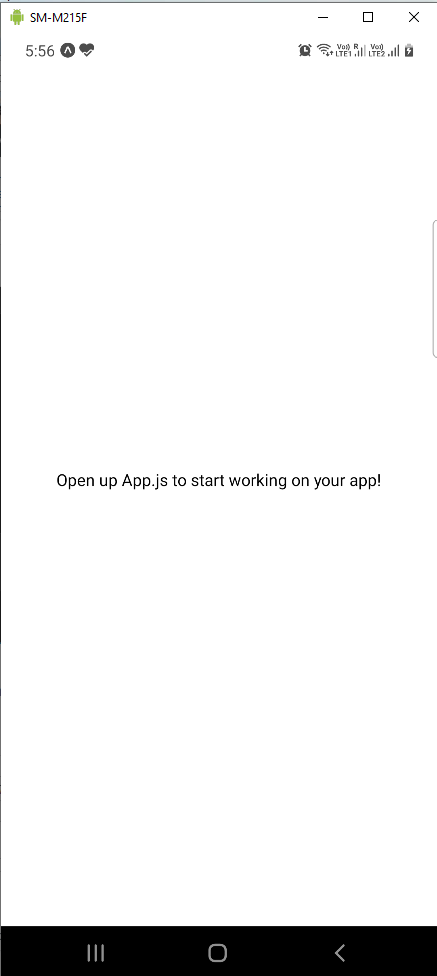
Doing so will open our application on our mobile device, which shows the generic text. We’re going to change that next.
Carousel Setup
As mentioned earlier, we’ll use the react-native-snap-carousel package in our project to display the carousel. So, open your terminal and add this package using the command below:
Now, we’ll open the code in Visual Studio Code and add an appData.js file in the root directory. Inside the appData.js file, we have an array of objects. Each object contains an author, quote, and image URL. I have taken the image URLs from the Unsplash API.

Carousel Component
Now, we’ll create our first component and use the data from the appData.js file. Create a components folder in the root directory and a file called Carousel.js inside it.
First, we must import the required packages, which include the react-native-snap-carousel package. Additionally, we’re importing the CarouselItem component, which we’re going to create next, and the appData file, which contains our data.
We have a functional Carousel component, inside which we first create a variable isCarousel with useRef. We need a reference to this instance of carousel.
Next, inside the return statement, we pass props to CarouselComp. As per the react-native-snap-carousel package documentation, these props are required.
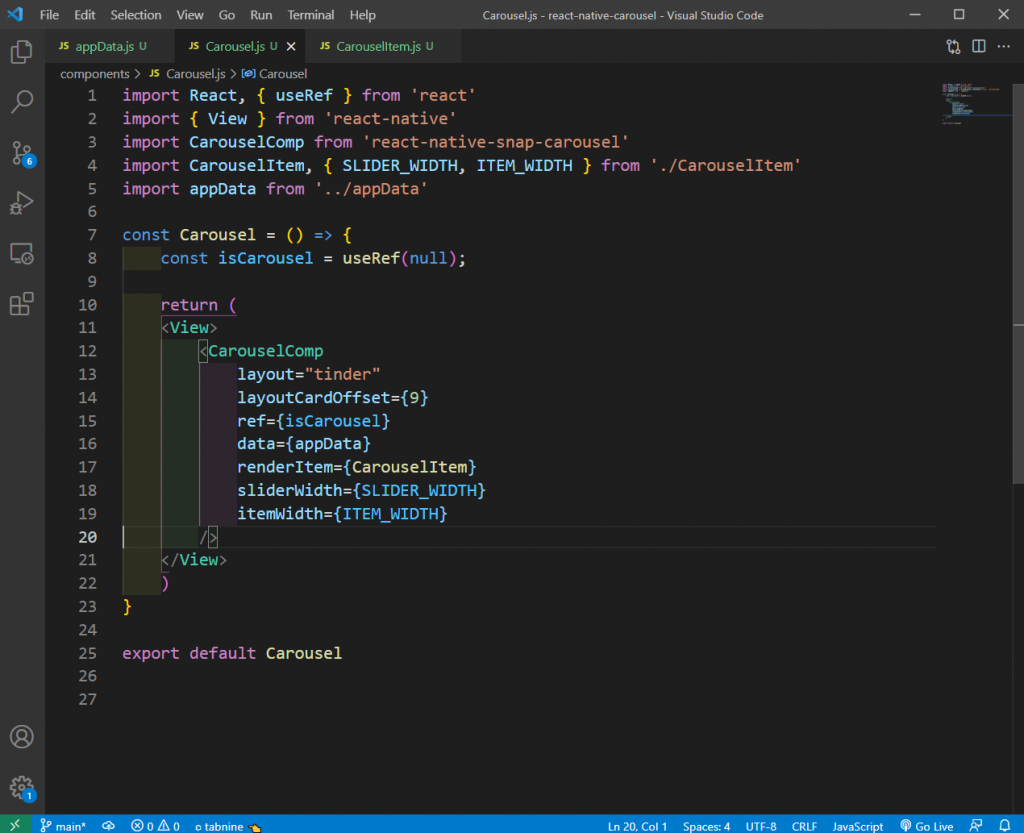
The descriptions of the props are below:
- layout: Different layouts such as default, stack, and tinder are possible.
- layoutCardOffset: Specifying an offset is required in tinder layout, as cards are stacked over one another.
- ref: As discussed earlier, this prop creates a reference to this instance of carousel.
- data: The array of items we got from appData file is passed as an item to the renderItem component.
- renderItem: The Item component, which contains the structure of an item, is rendered.
- sliderWidth: This prop sets the width, in pixels, of the carousel, which we’re getting from the CarouselItem component.
- itemWidth: This prop defines the width, in pixels, of carousel items, which we’re getting from the CarouselItem component.
CarouselItem Component
Next, we’ll create the CarouselItem component, which we’re calling from the Carousel component. So, create a file called CarouselItem.js inside the components folder.
Here, we’re first importing the required item from React Native. We’re also creating two variables, SLIDER_WIDTH and ITEM_WIDTH, which we’re exporting, as well. We’re using these variables because the size of each mobile device varies and we calculate it by dimensions.
Inside the return statement, the props show us an image and two texts. We’re getting the image URL, author, and quote from appData, which is passed from the Carousel component.

Now, we create styles for our CarouselItem component. Most of the styles are straightforward. They’re mainly for color, font size, and padding. But we’re using width of the mobile device by using the ITEM_WIDTH variable in the container and image classes.

App Component
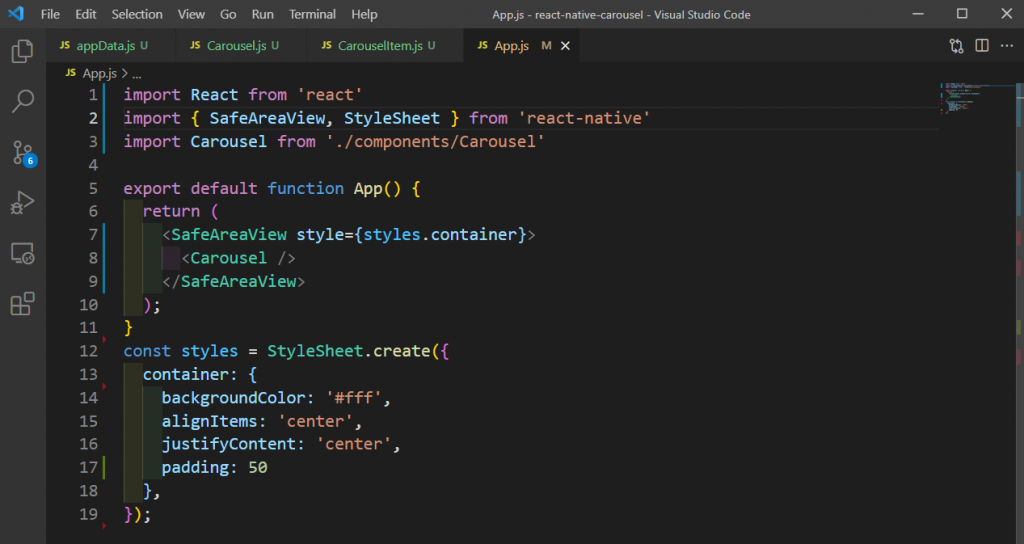
Now, we’ll show our Carousel component from App.js file, which is the entry point of React Native. Remove the earlier content from App.js and update it with the content below.
Here, we’re wrapping the Carousel component in a SafeAreaView. The SafeAreaView is better than View because it helps you avoid iPhone notch.
Now, our app is complete and the carousel is showing perfectly.

Building the App
We need the APK or IPA file to deploy our app in the respective app stores and also for testing in the next part. We’ll look into the steps to create an APK file for Google Play store. Creating an APK file with Expo is very easy. We’ll follow the instructions in the official docs.
Run the below command from your terminal:
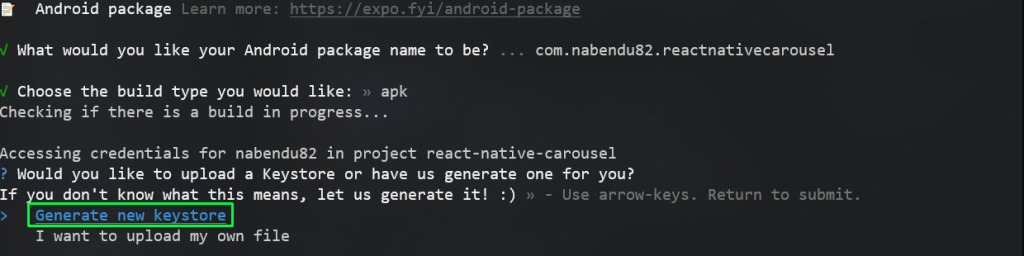
We’ll be asked to give the package a name. We should leave it as suggested and press enter.

In the next screen, it’ll ask us the build type. Leave the build type as APK and press enter.

Next, we’ll be asked about keystore. Here, also leave the default option, which is Generate new keystore. Press enter.
Now, our APK build will start. It’ll take about 10 minutes to complete. If the process is successful, we’ll get the below screen with a link to our app.
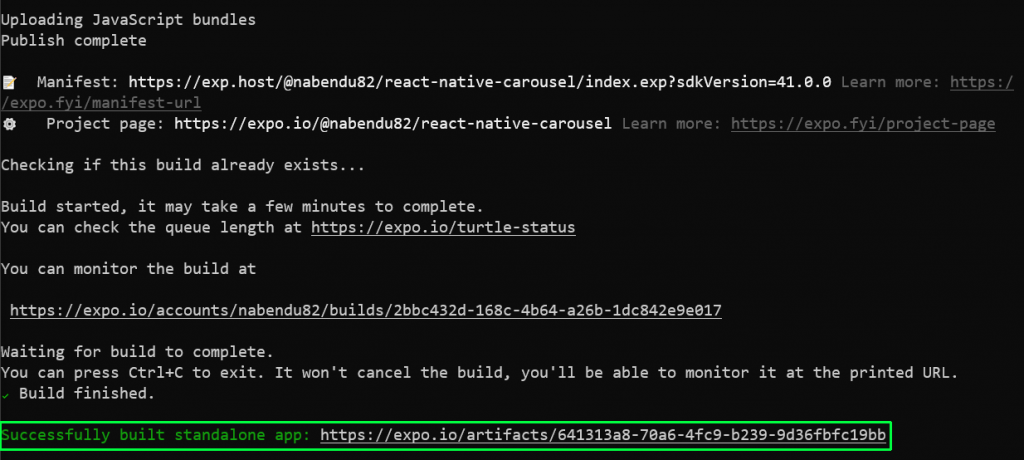
Download the APK file from the link and keep it for the next testing step.
No-Code Testing
To test our application, we’ll be using Waldo’s no-code testing platform. For this, we need the APK file from the previous step. Waldo also works on IPA files, which you can generate with Expo.
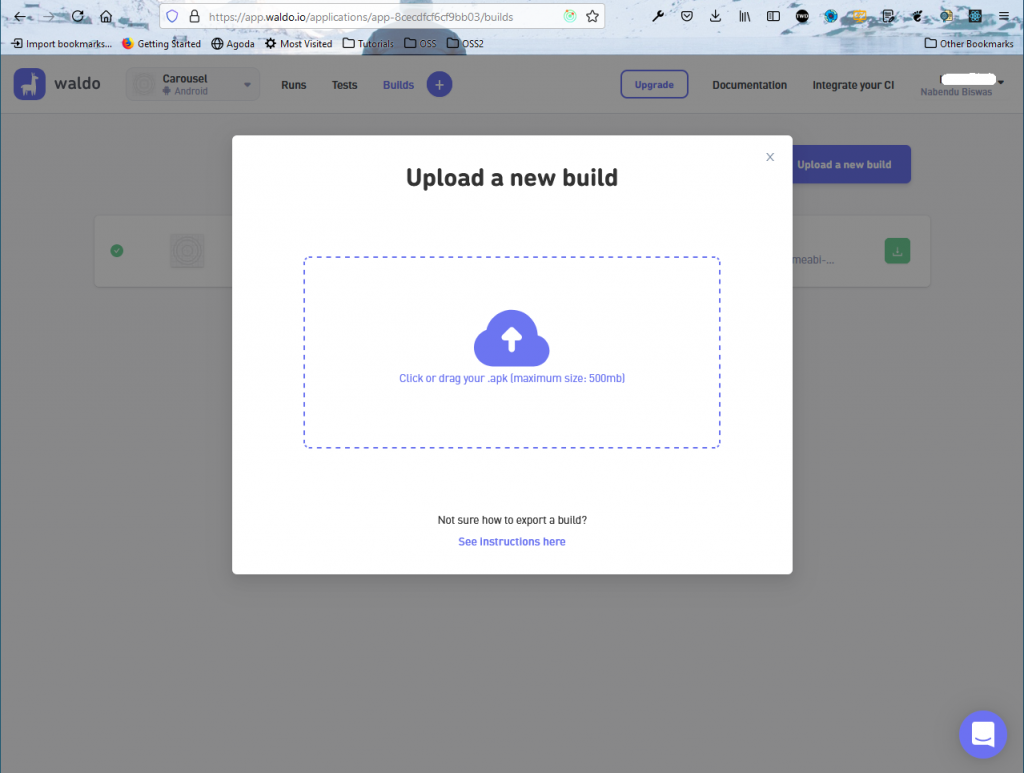
Create a free Waldo account. Then, we need to upload the APK file. Since I already have a build, I need to click at + icon and then Upload a new build in the drop-down menu.

The next screen will show us the upload pop-up. Add the APK file in this pop-up.
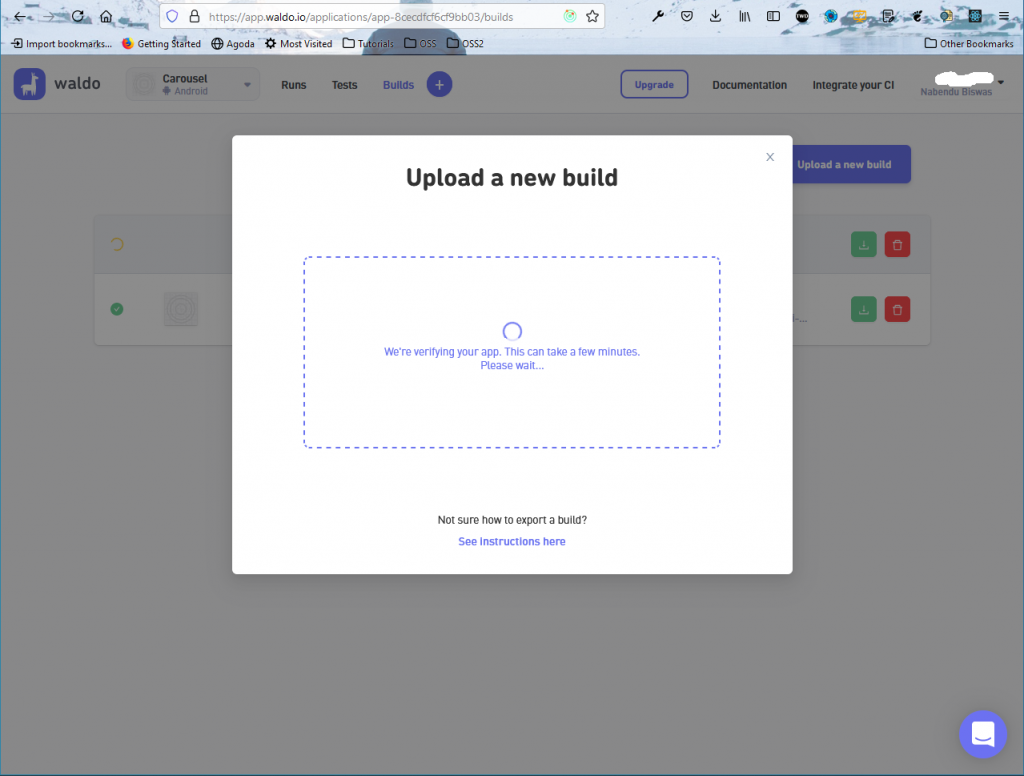
The upload process will take about five minutes, and then our app will be verified.
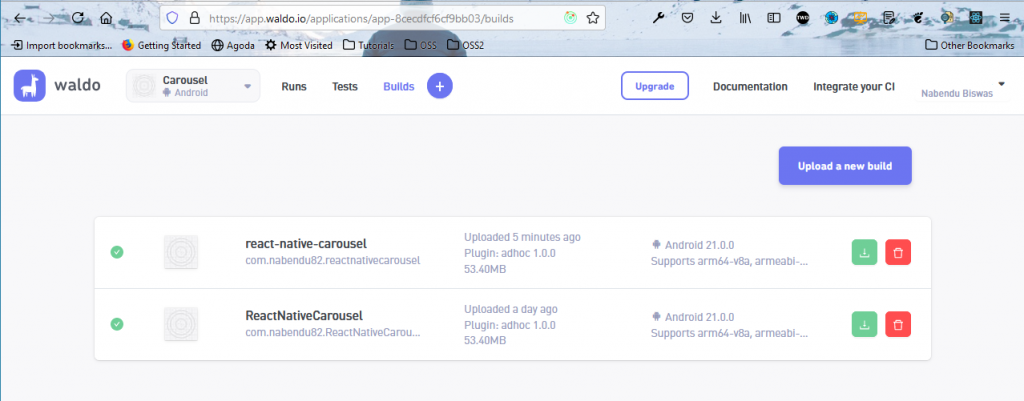
The next screen will show our builds. Select the latest build.
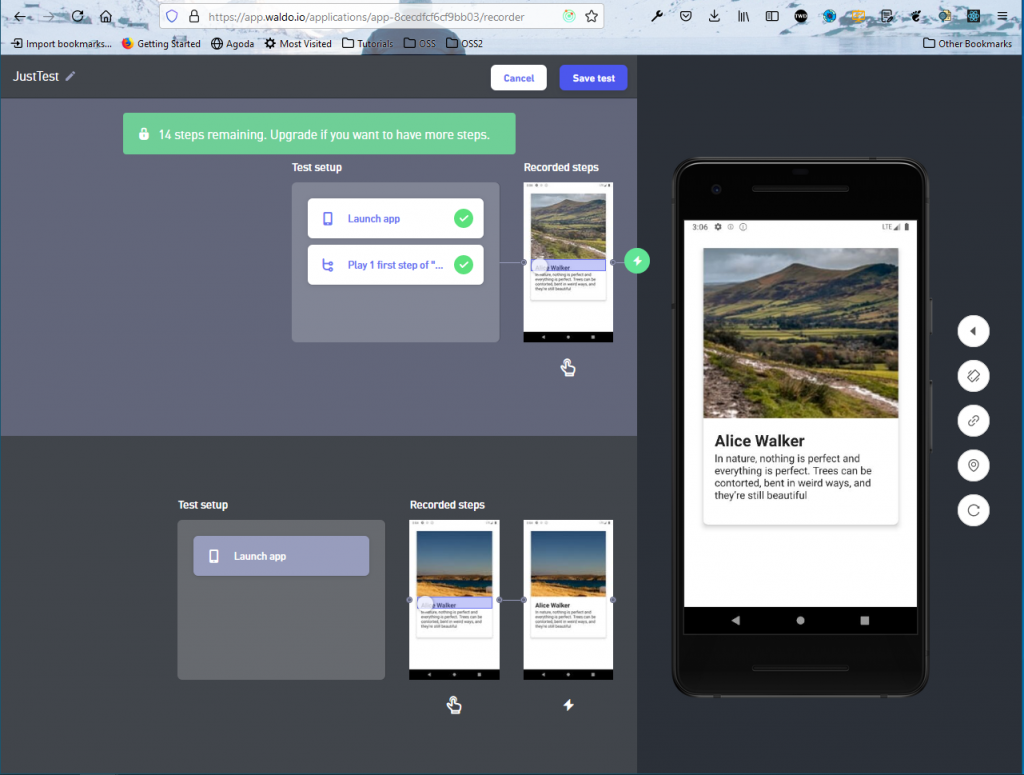
On the next screen, we need to give the various interactions a user will do in our application. In the free version, we can give a total of 14 steps.
Once we click on the Save test button in the above screen, our test will be run. If the test is successful, we’ll get the below results:

We’ll also receive an email on our test status.
Conclusion
In this post, we’ve learned to implement a carousel in a React Native application. We implemented a carousel quickly and easily through react-native-snap-carousel.
We’ve also learned to create an APK file using Expo. After that, we also did a quick test with the no-code testing tool Waldo.
By using an easy-to-use package, we were able to effortlessly implement a modern carousel in our project. We’ve also tested our app without writing those complicated and confusing unit tests. We did it easily by using the awesome no-code testing tool Waldo. So, give it a try.
Automated E2E tests for your mobile app
Get true E2E testing in minutes, not months.